Admin Menus, Nav, & Basic Editing
This page provides a basic guide to navigating the various menus of the Drupal admin UI, to Drupal’s quick edit (“contextual”) links, and to the node editing pages used to create and modify content.
The frontend admin UI toolbar will appear once you’ve logged into Drupal as an admin user (@ romantic-circles.org/login).

It consists of the following menus:
Top-bar items
Manage: Expands or collapses the main admin toolbar.
Shortcuts: Shows various shortcuts to commonly visited pages (such as “All content”). Can be customized (via “Edit Shortcuts” link at right).
[User account]: Your username and avatar; edit your profile or logout.
Edit: This button, at the far right, will reveal any quick/contextual links that exist on the current page. Can be useful to expose editable content.
Content
This section will link you to Drupal’s “all content” page, which displays, by default, all site content (nodes) from newest to oldest. Use the provided filters and search bar to sort or find content. The “Action” dropdown can perform bulk operations on selected content (most often, deleting it).
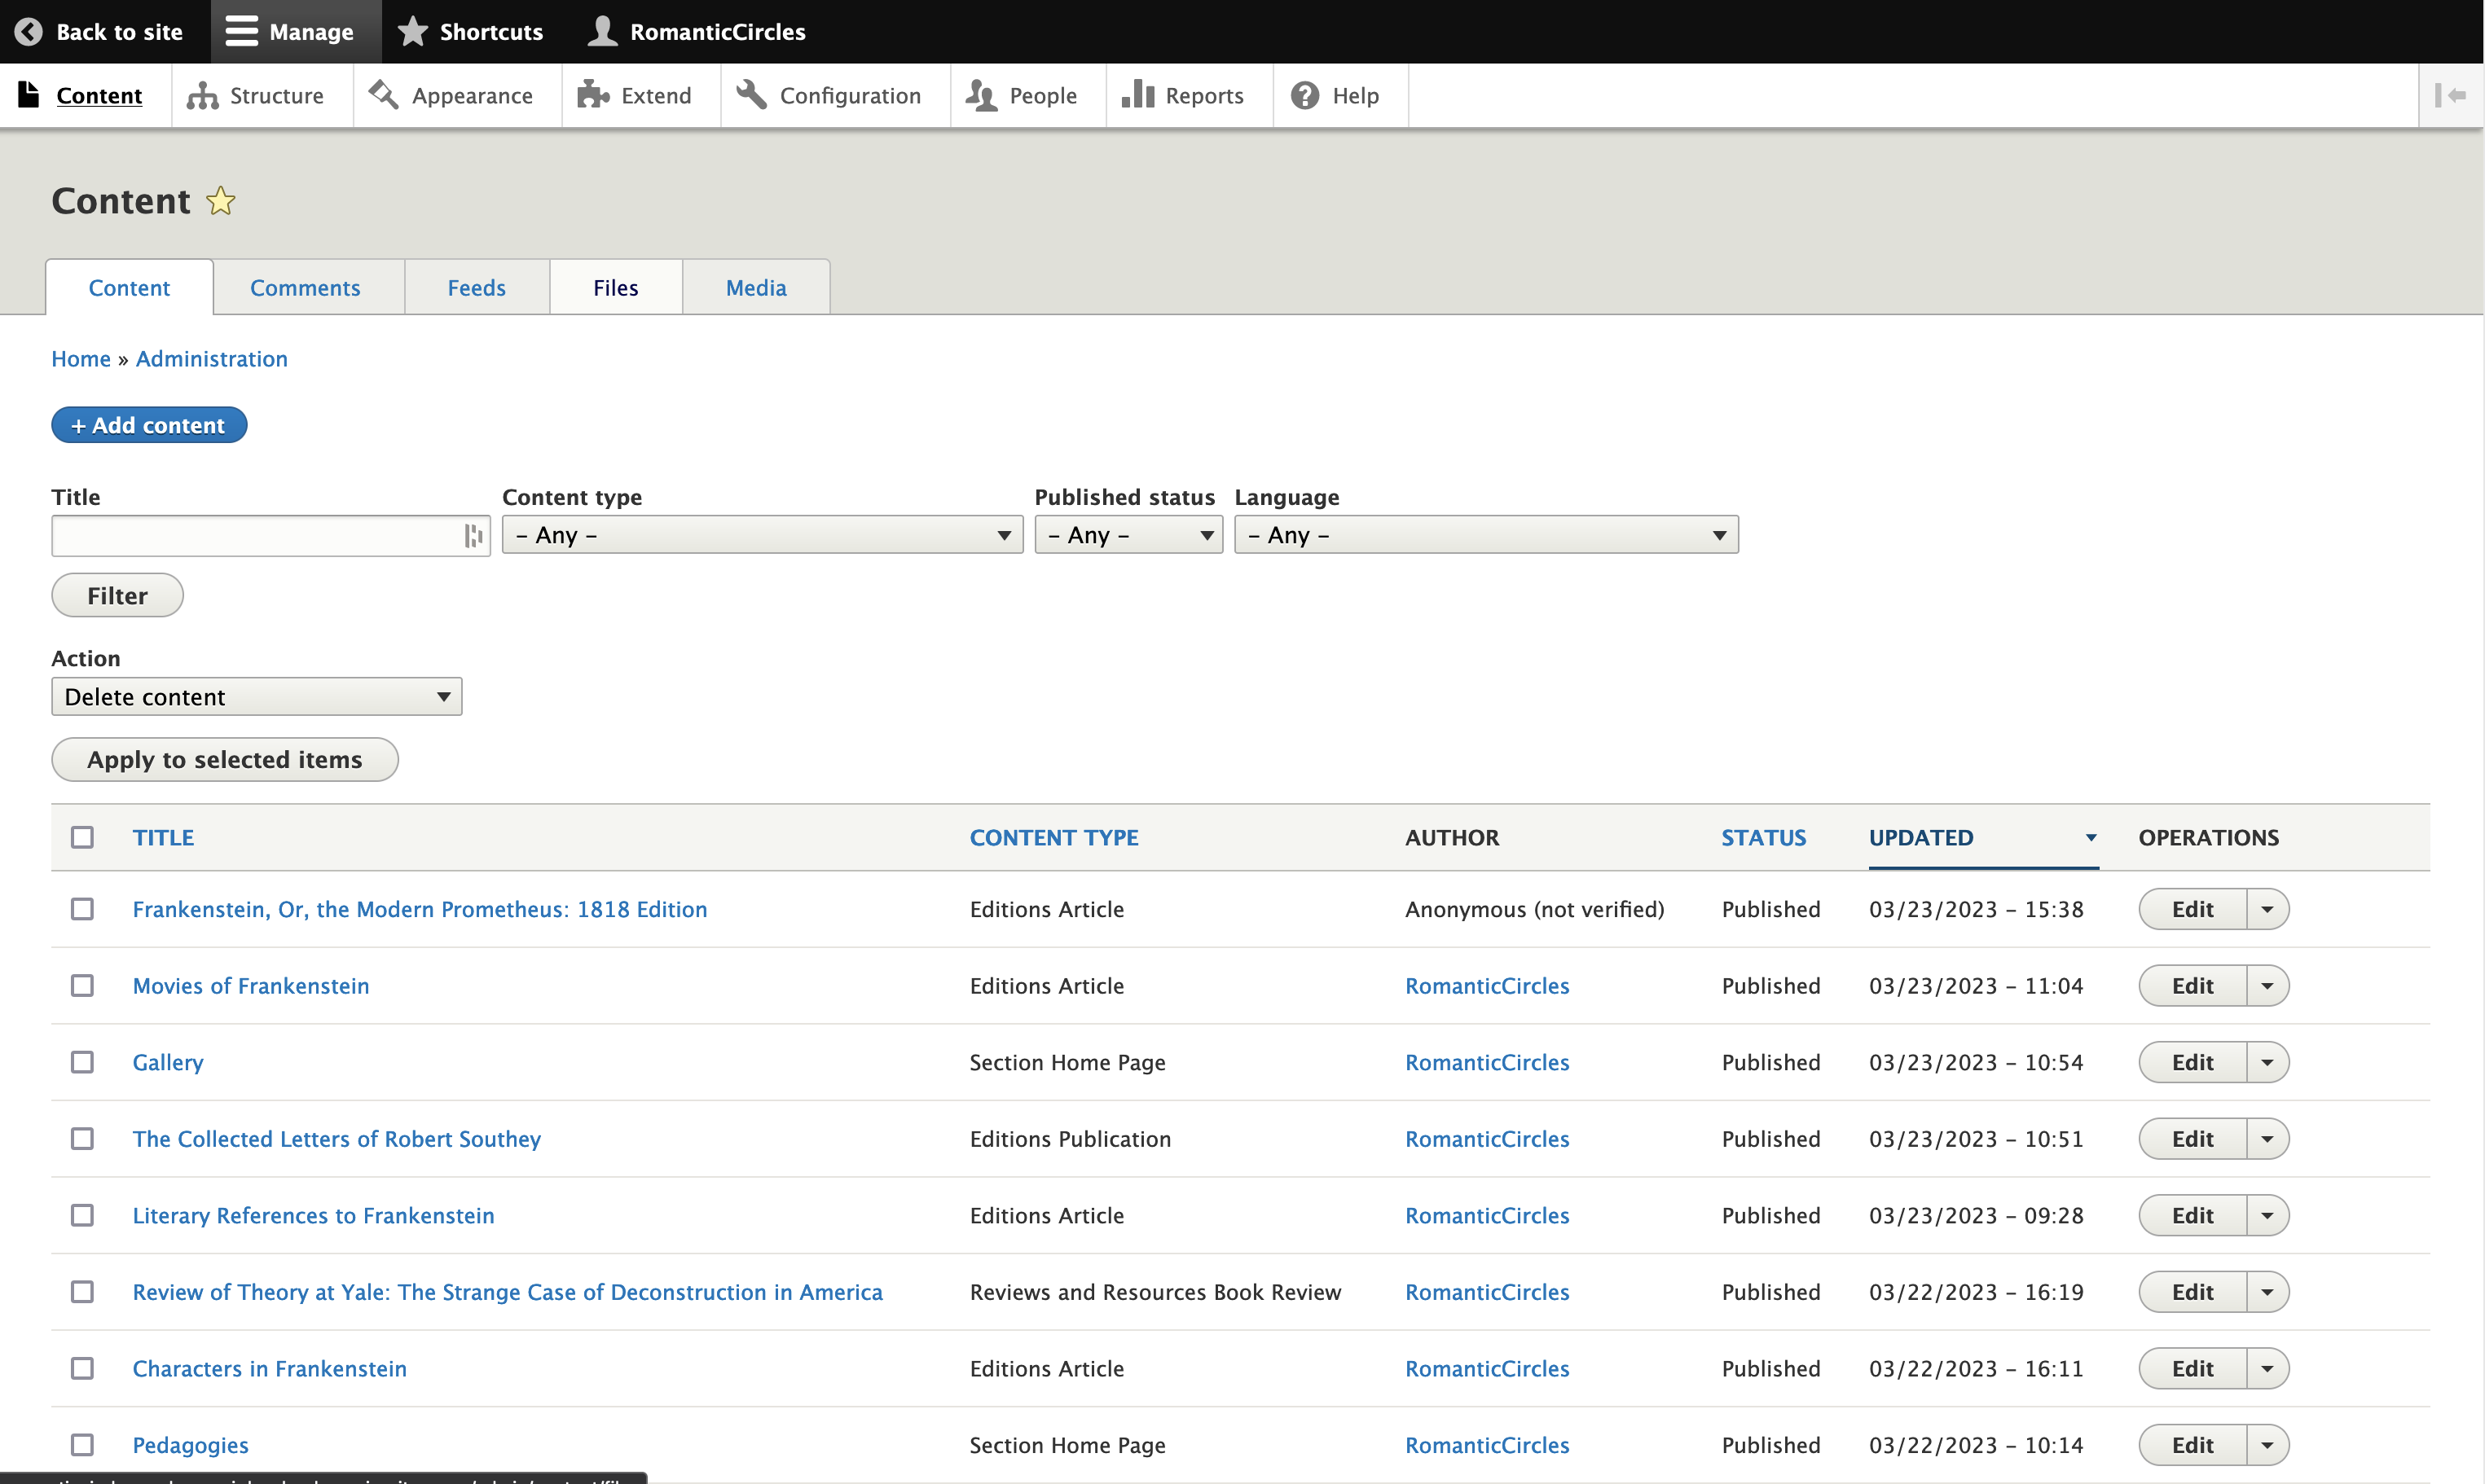
Let’s look at the other tabs to manage content on this page.
Comments: The site doesn’t allow comments, so there’s nothing here.
Feeds: This tab manages your active feeds importers. Clicking a feed name or “Import” from the dropdown at right will give you the option to re-import content using the same importer settings, whereas “Edit” will allow you to change the importer’s setting to, say, re-use the Praxis HTML importer to import a new volume without having to create a new importer. See the Drupal Content Import page for instructions on how to import content; see the Feeds Importers page later in this section on creating or editing the importers themselves.
Files: Contains all files that have been brought into the Drupal site via the feeds or content importers, including media imported via the content editing UI. The page can be useful if you want to see which files aren’t being used, but there’s not much else to do here.
Media: A page to import and display media content; while this functionality is rarely used on the site, it provides an easy way to assign alt text and a URL alias to media files.
Structure
Structural elements tell Drupal what to do with content and data: how to label and organize it, how to display it, how to sort it and retrieve it, how to put several nodes together on a single page, and so on. This menu contains several of the site’s most important tools, including Content Types, Feed Types, Taxonomy, and Views.

Block Layout: This menu controls the placement of blocks within your Drupal site theme and provides several options to configure them. To see where each of these “block regions” exists within the current theme, click the “Demonstrate block regions” link. You shouldn’t have to use this page unless you want to change how these blocks appear (i.e., in the case of a site overhaul).
Comment types: Not used.
Contact forms: Create and manage various contact forms that can be used on the site. An example of a future use of such a contact form would be a submissions form for content or even whole volumes (which could be uploaded directly to the site’s file system [FTP]). You can “call” any created contact form at the base URL + /contact/[machine_name] (find the form’s machine name baside the “Label” field when you click on its “Edit” tab).
Content types: This is where you can edit and create new content types. As you’ll see from the list on this page, the major content types more or less correspond to the publication logics of the RC site itself: Editions, Praxis, etc. As noted in the previous section, each node in Drupal must be assigned a content type, which determines what fields (kinds of data) that node can take. From Structure/Content types, you can add, remove, and edit (“Manage”) the fields native to each content type.
Display modes: This menu can be used to configure custom display modes for forms and views. There’s probably not a use case for digging into this functionality, as the defaults are fine.
Feed types: Create and edit RC’s feeds importers. These importers are complicated and important enough that we’ve dedicated a whole page to explaining their creation and use: Feeds Importers. It’s important to note, for now, that the feed types created on this page dictate the creation of new feeds importers in admin/content/feed (see “Content,” above).
Media types: Configure how Drupal handles uploaded media files (an embedded external video, for instance). Note that the core media module can extract certain kinds of metadata from media sources, if desired (this functionality isn’t currently configured on the RC site).
Menus: This page enables configuration of Drupal menus, including the main navigation bar at the top of the site (which can be edited under “Main Navigation”) and also the Administration menu whose elements we’re exploring.
Taxonomy: All tagging vocabularies for site content are managed here. The main tags for articles are contained in the “Tags” vocabulary (click “List terms” to see all tags). Special tags used in RC Editions, such as People and Places, are managed here as well. The remaining vocabularies belong to RC Galleries entries (Genre, Medium, etc.).
Views: Perhaps the most important component of the Drupal CMS, and as such, they get their own tutorial page: Drupal Views Tutorial. A view is a method of dynamic page assembly that uses a series of logical sorting mechanisms to pull nodes or even single fields from the relational database and display them together in a single page layout. Views are used, for example, to generate the content on most of RC’s main pages (such as Editions, Praxis) by pulling together and presenting nodes with the desired metadata attributes (such as content type, publication date, etc.).
Appearance
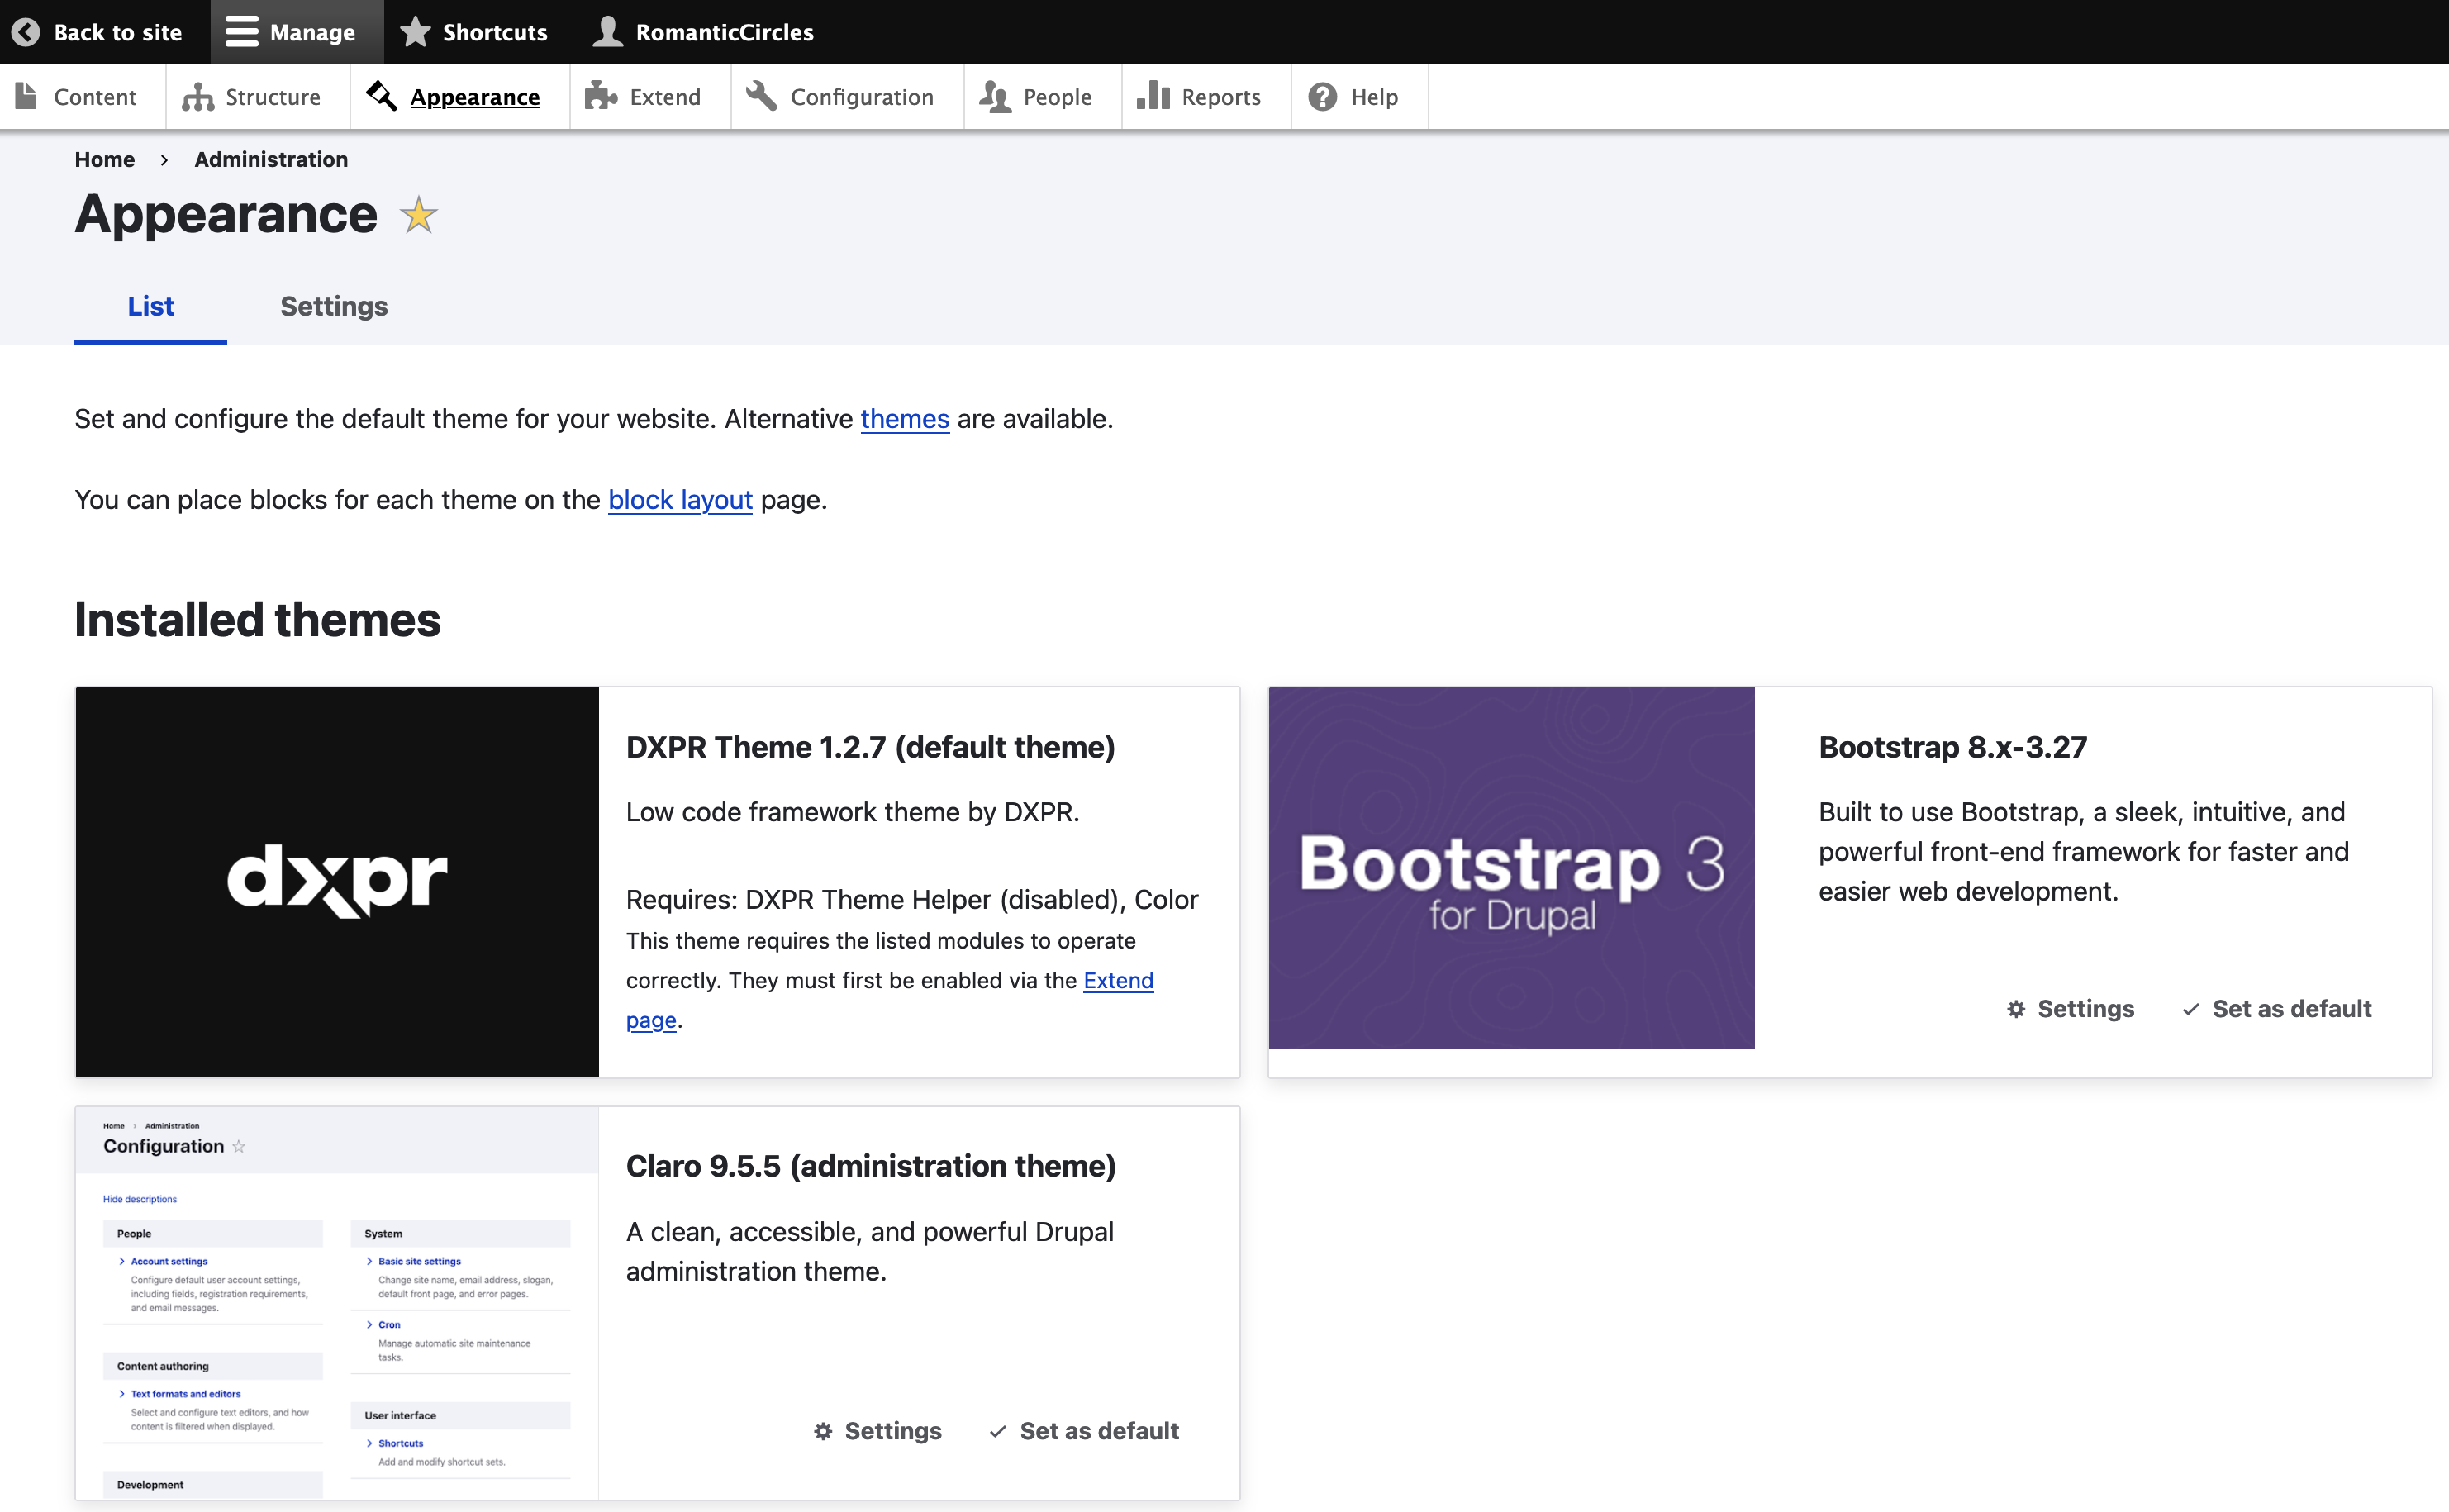
This menu controls the site’s theme and its settings. From here you can edit the site’s color scheme and various options, including Bootstrap functionality. Unless you need to change the site’s theme or you’re troubleshooting global Bootstrap issues, you shouldn’t need this section. Note that two default themes are set on the site at any given time: a user-facing “front-end” theme (DXPR), and a separate theme for the admin pages (Claro).
Extend
The Extend admin section allows you to view, enable, and configure Drupal’s core modules (those that “ship” with a standard Drupal install) and any contributed (3rd party) modules you’ve installed to the site. Many of the configurations available to modules on this page will appear elsewhere on the site—namely, on the “Configuration” admin page—especially if that module’s function affects Drupal appearance, settings, or behavior (see, in this regard, the Google Analytics and Colorbox modules). Other modules need to be configured from this page (e.g., Geofield / Leaflet), but you shouldn’t need to do this unless you’re experiencing issues with a specific module.
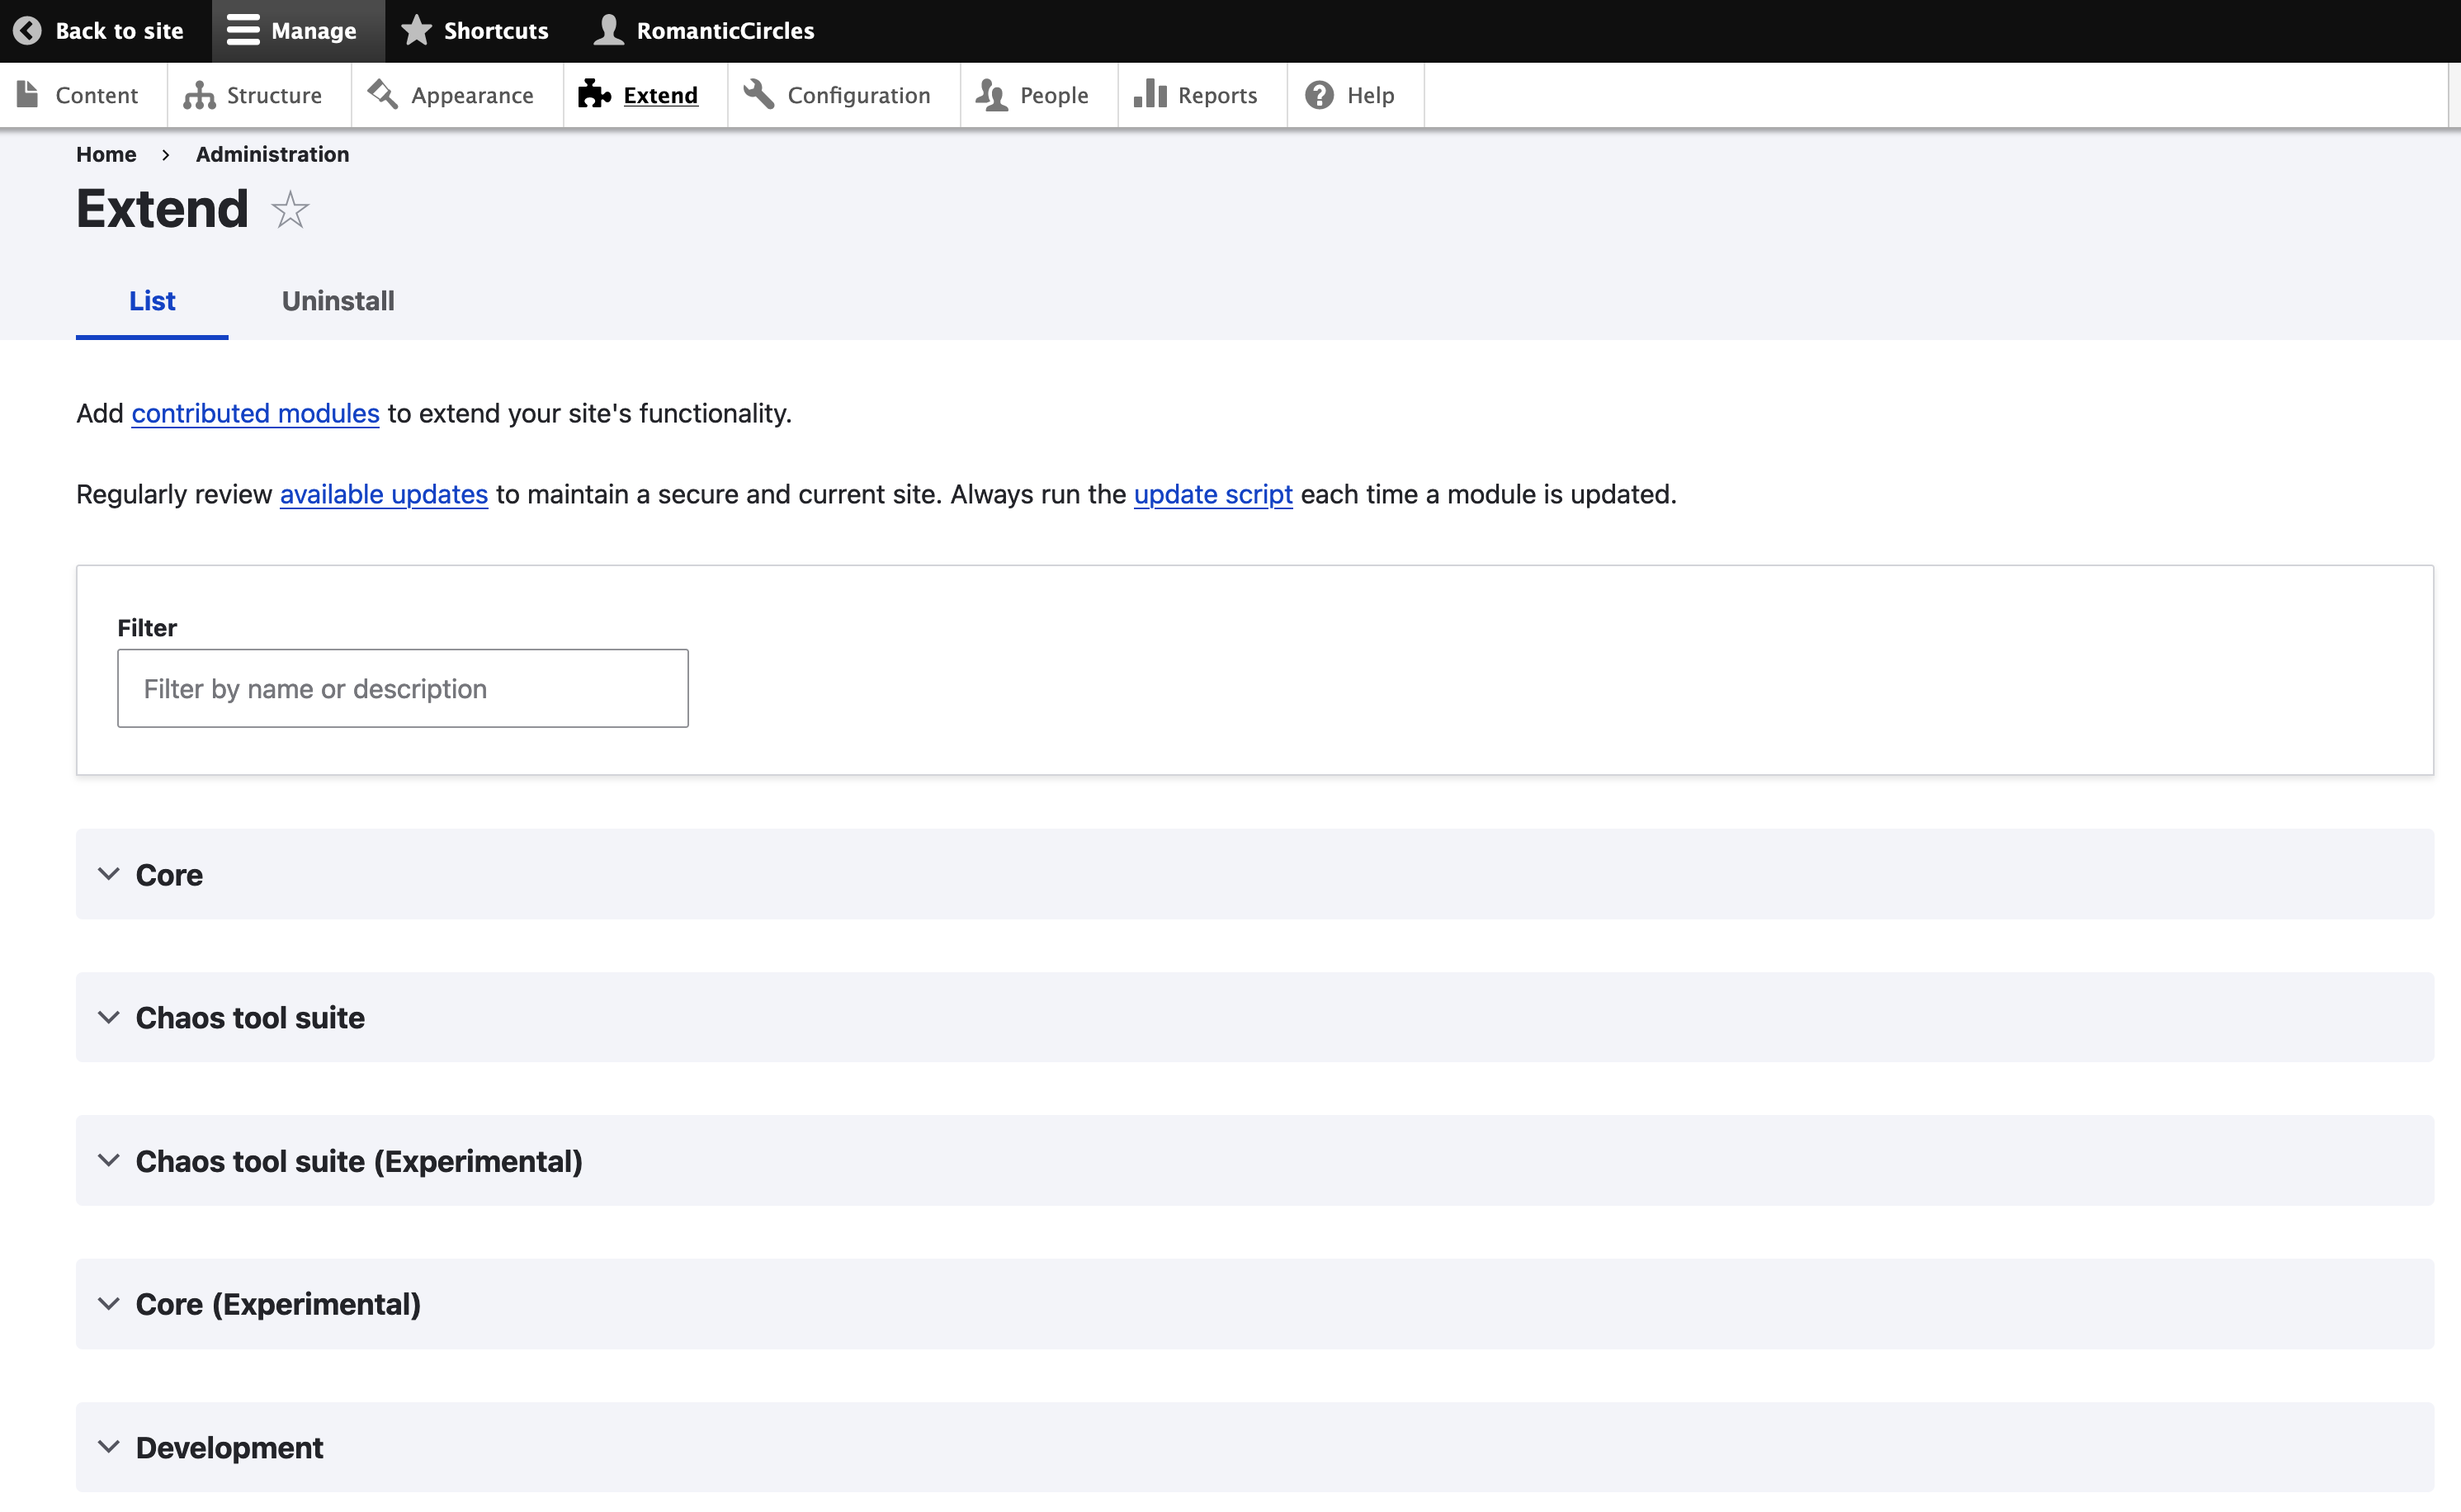
Any involved Drupal site will incorporate a large number of modules, and going over the function of each is beyond the scope of the present documentation. The best way to familiarize yourself with what any particular module does is to search the web for it; each will have its own page on the Drupal.org site. For more on modules, see the Drupal Overview.
From the Extend page, you can also Install a module by checking the box beside it and clicking the “Install” button at bottom. A better term for this process would perhaps be enable, since any module you “Install” from the Drupal UI is actually already in the codebase. You must “require” any new module in the Drupal codebase using Composer before “installing” it in the Drupal UI. Similarly, you should never use the “Uninstall” tab in the Drupal UI: only use Composer to remove modules from your codebase. For more on installing, updating, and deleting modules, see Using Composer to Manage Drupal.
IMPORTANT: If you do not use Composer to install, uninstall, and update Drupal modules (and core), various dependencies in the site code could be lost, resulting in an unstable site; further, if modules are not installed/removed using Composer, it may become impossible to update/upgrade to future versions of Drupal without manual intervention in the code.
Configuration
The configuration menu is where Drupal aggregates most of its global settings (other than the appearance of the CMS itself, which has its own admin section). Some of these settings have been covered elsewhere in this guide and will be skipped; for those that remain, here’s a summary of each of the menu sections and the use of each settings page:
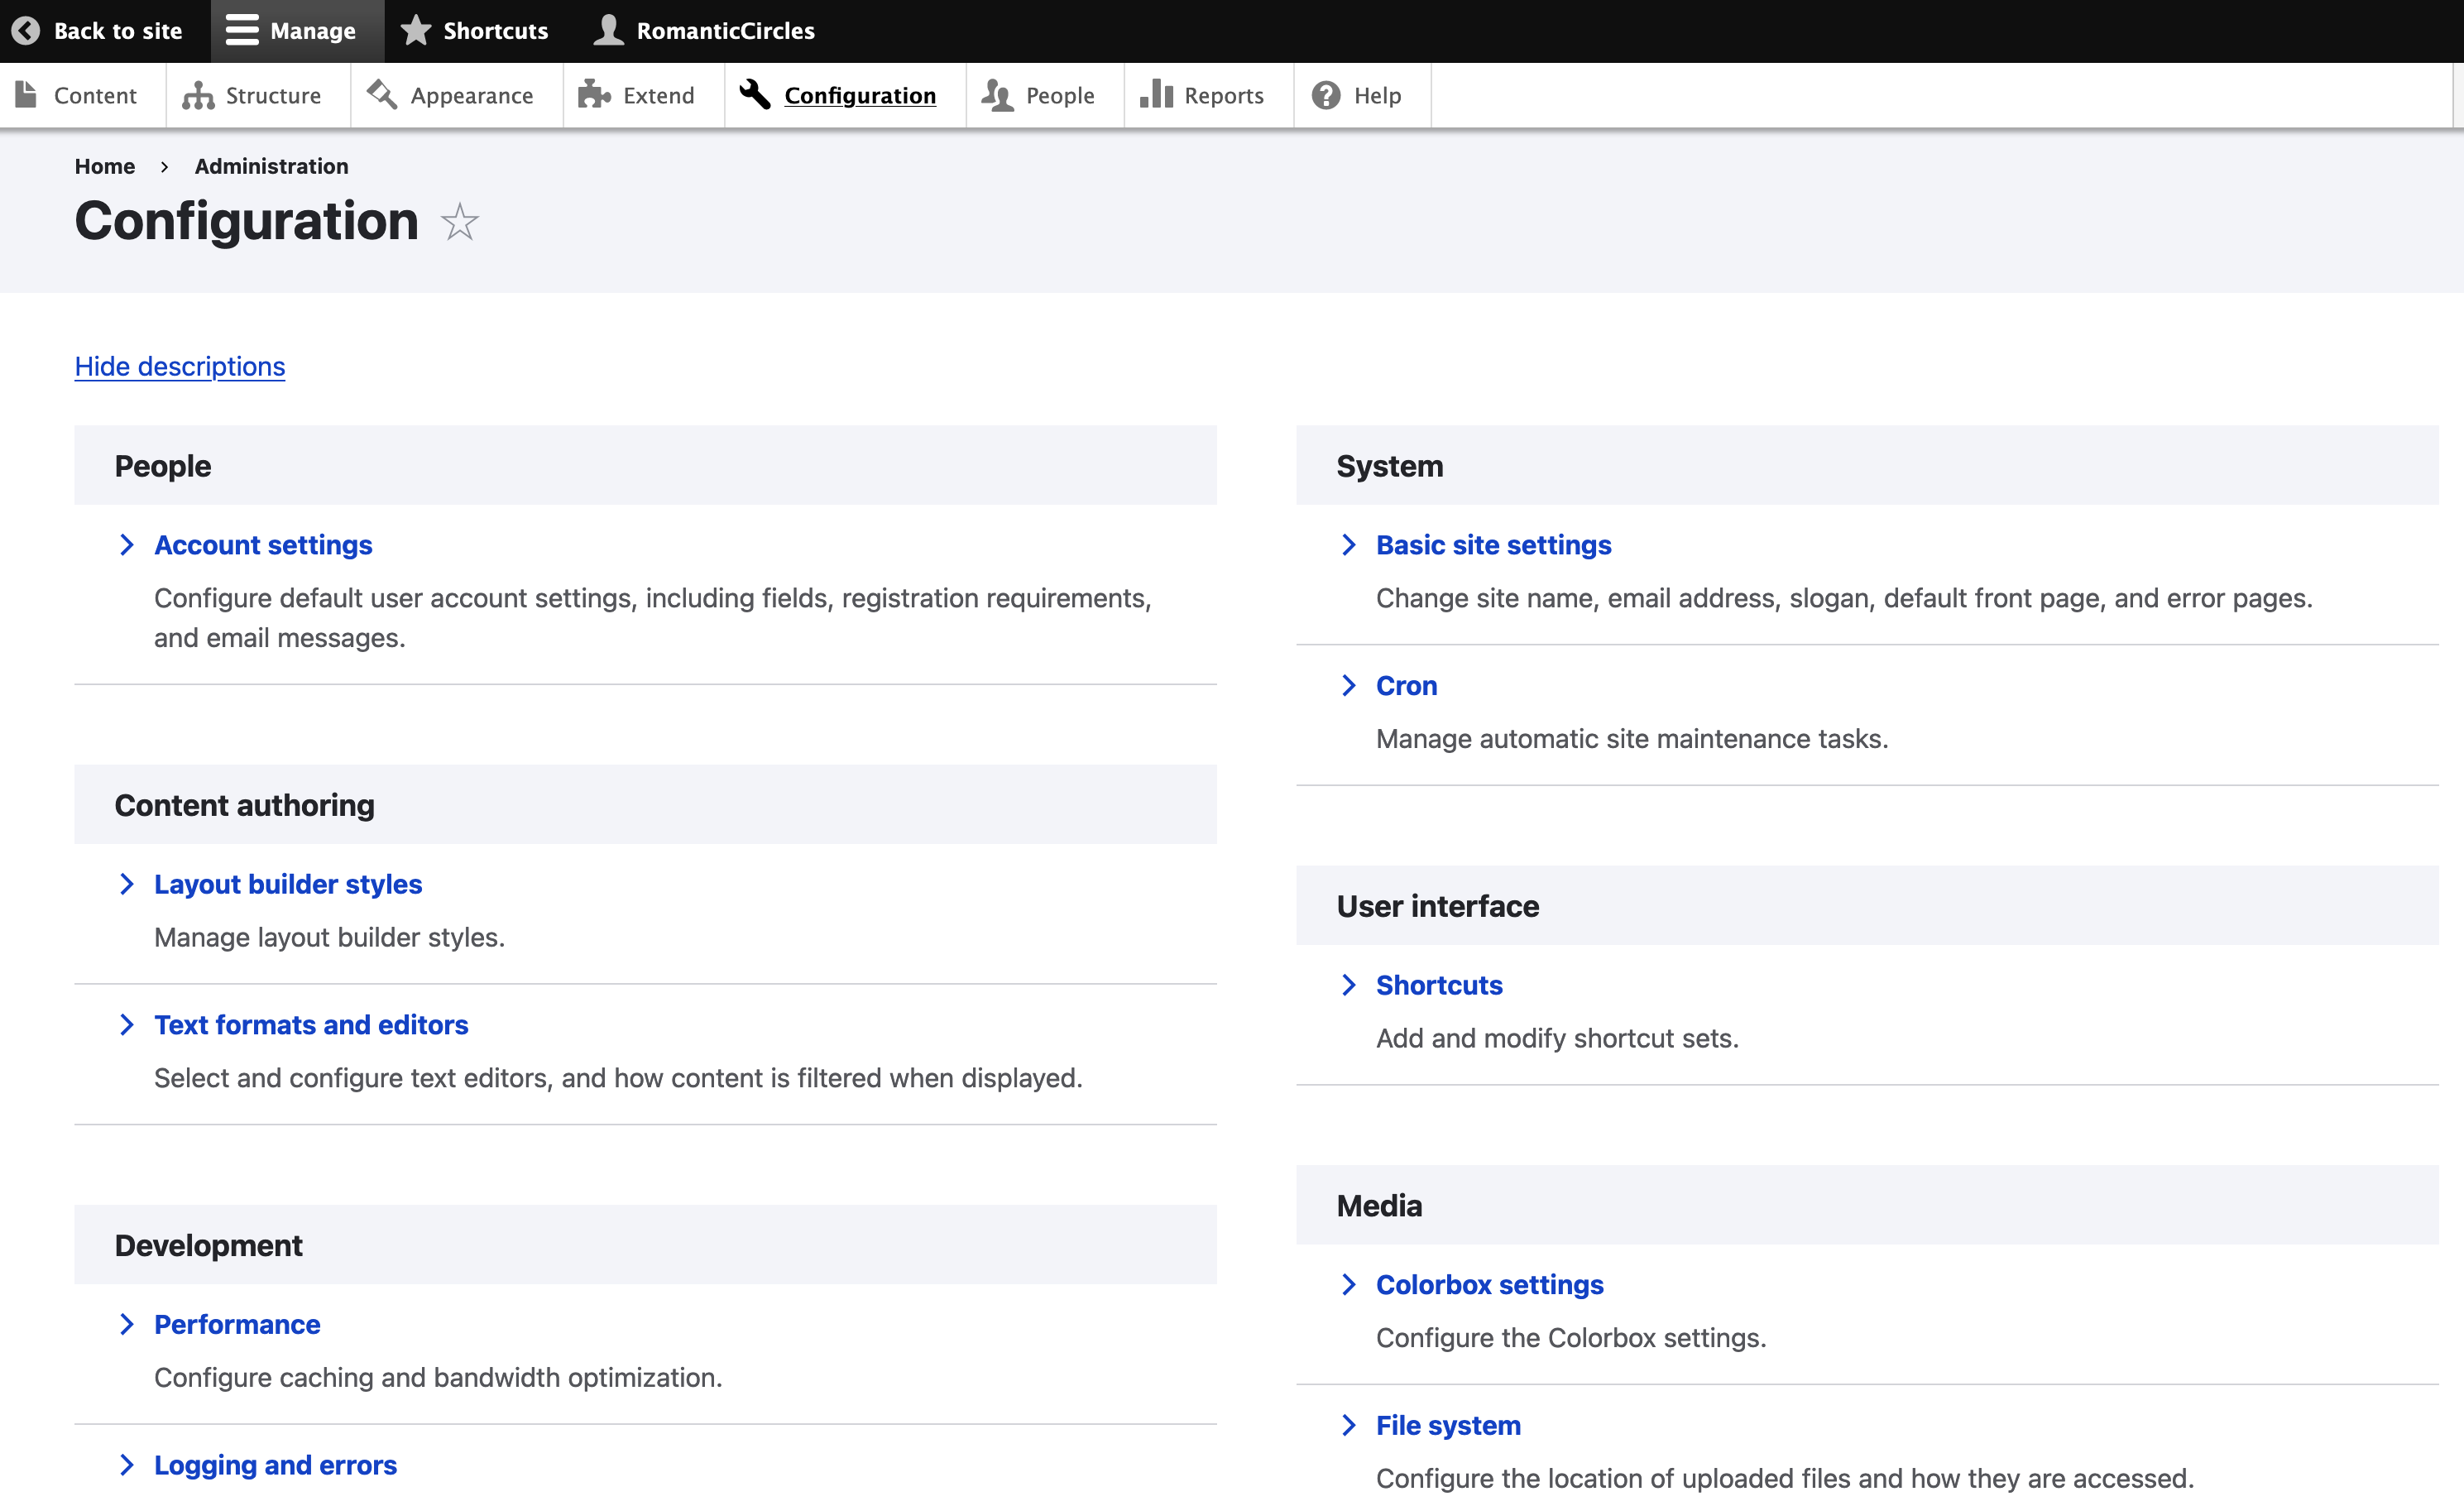
System: Configure site defaults and behaviors, such as the home page, site name, etc., on the Basic Site Settings page; the Cron page can be used to set up Cron jobs, or scripts that execute on a regular time schedule to automate certain site tasks (such as clearing the cache, etc.).
Content Authoring: The Text formats and editors page allows customization of Drupal’s text input fields, also known as WYSIWYG (“what you see is what you get”) editors; in Drupal 10, CKEditor5 is the standard WYSIWYG text editor. From the “Configure” option for each type of input (Basic HTML, Full HTML, etc.), you can control the editor’s behaviors.
Layout builder styles is enabled by the contributed module of the same name. It allows you to create CSS classes that can be applied to any block from the Layout Builder (accessed via the “Layout” option on any page with a layout set). See the [Drupal Components] page for more info.
Development: Most of the settings here are self-explanatory or unused; importantly, though, Performance is where you can manually clear the site cache and it is recommended that you activate Maintenance mode before running the update.php script (see below) in a production environment.
Finally, Asset Injector is a module that enables simple editing of all CSS and JS on the site; this page configures it. Note that each “injector” can be given its own conditions, meaning an injector, and all the CSS classes it contains, will only apply to the content types you specify.
Media: This menu section controls media styles, behavior, and file storage, and most pages are self-explanatory. Colorbox settings adjust the behavior of the Colorbox module, which is reponsible for the site’s pop-up window functionality. NG Lightbox is necessary to enable the node pop-ups within Editions (i.e., when a link can be clicked to generate a pop-up of a separate page); this function will only work on the paths specified on this config page.
Web Services: The Google Analytics page allows configuration of the analytics module; most importantly, this is where you can find the “Web Property ID,” which is the ID added to all RC pages that allows them to be indexed and searched by Google.
People
From this section, you can manage and add users to the site itself. From the page’s tabs—Permissions, Roles, and Role Settings—it’s a fairly straightforward process to create and manage the available user roles and to specify what those roles can do on the site (permissions). It’s equally straightforward, from the “List” tab, to add a new user, which you’ll need to do any time RC onboards someone who needs access to Drupal’s admin UI.
Note that when adding a new user, you’ll need to assign them a username and password; they can easily change the latter once they log in for the first time. Always remember to check the “Notify user of new account” box.
Reports
This menu could be useful, in theory, once the site is running smoothly and it’s time to sand down the rough edges; you can see the top errors experienced by users, error logs, and even what the site’s most commonly searched phrases are. Lists of all fields used on the site and all plugins used in views are also available, which could prove useful in the case of a site audit.
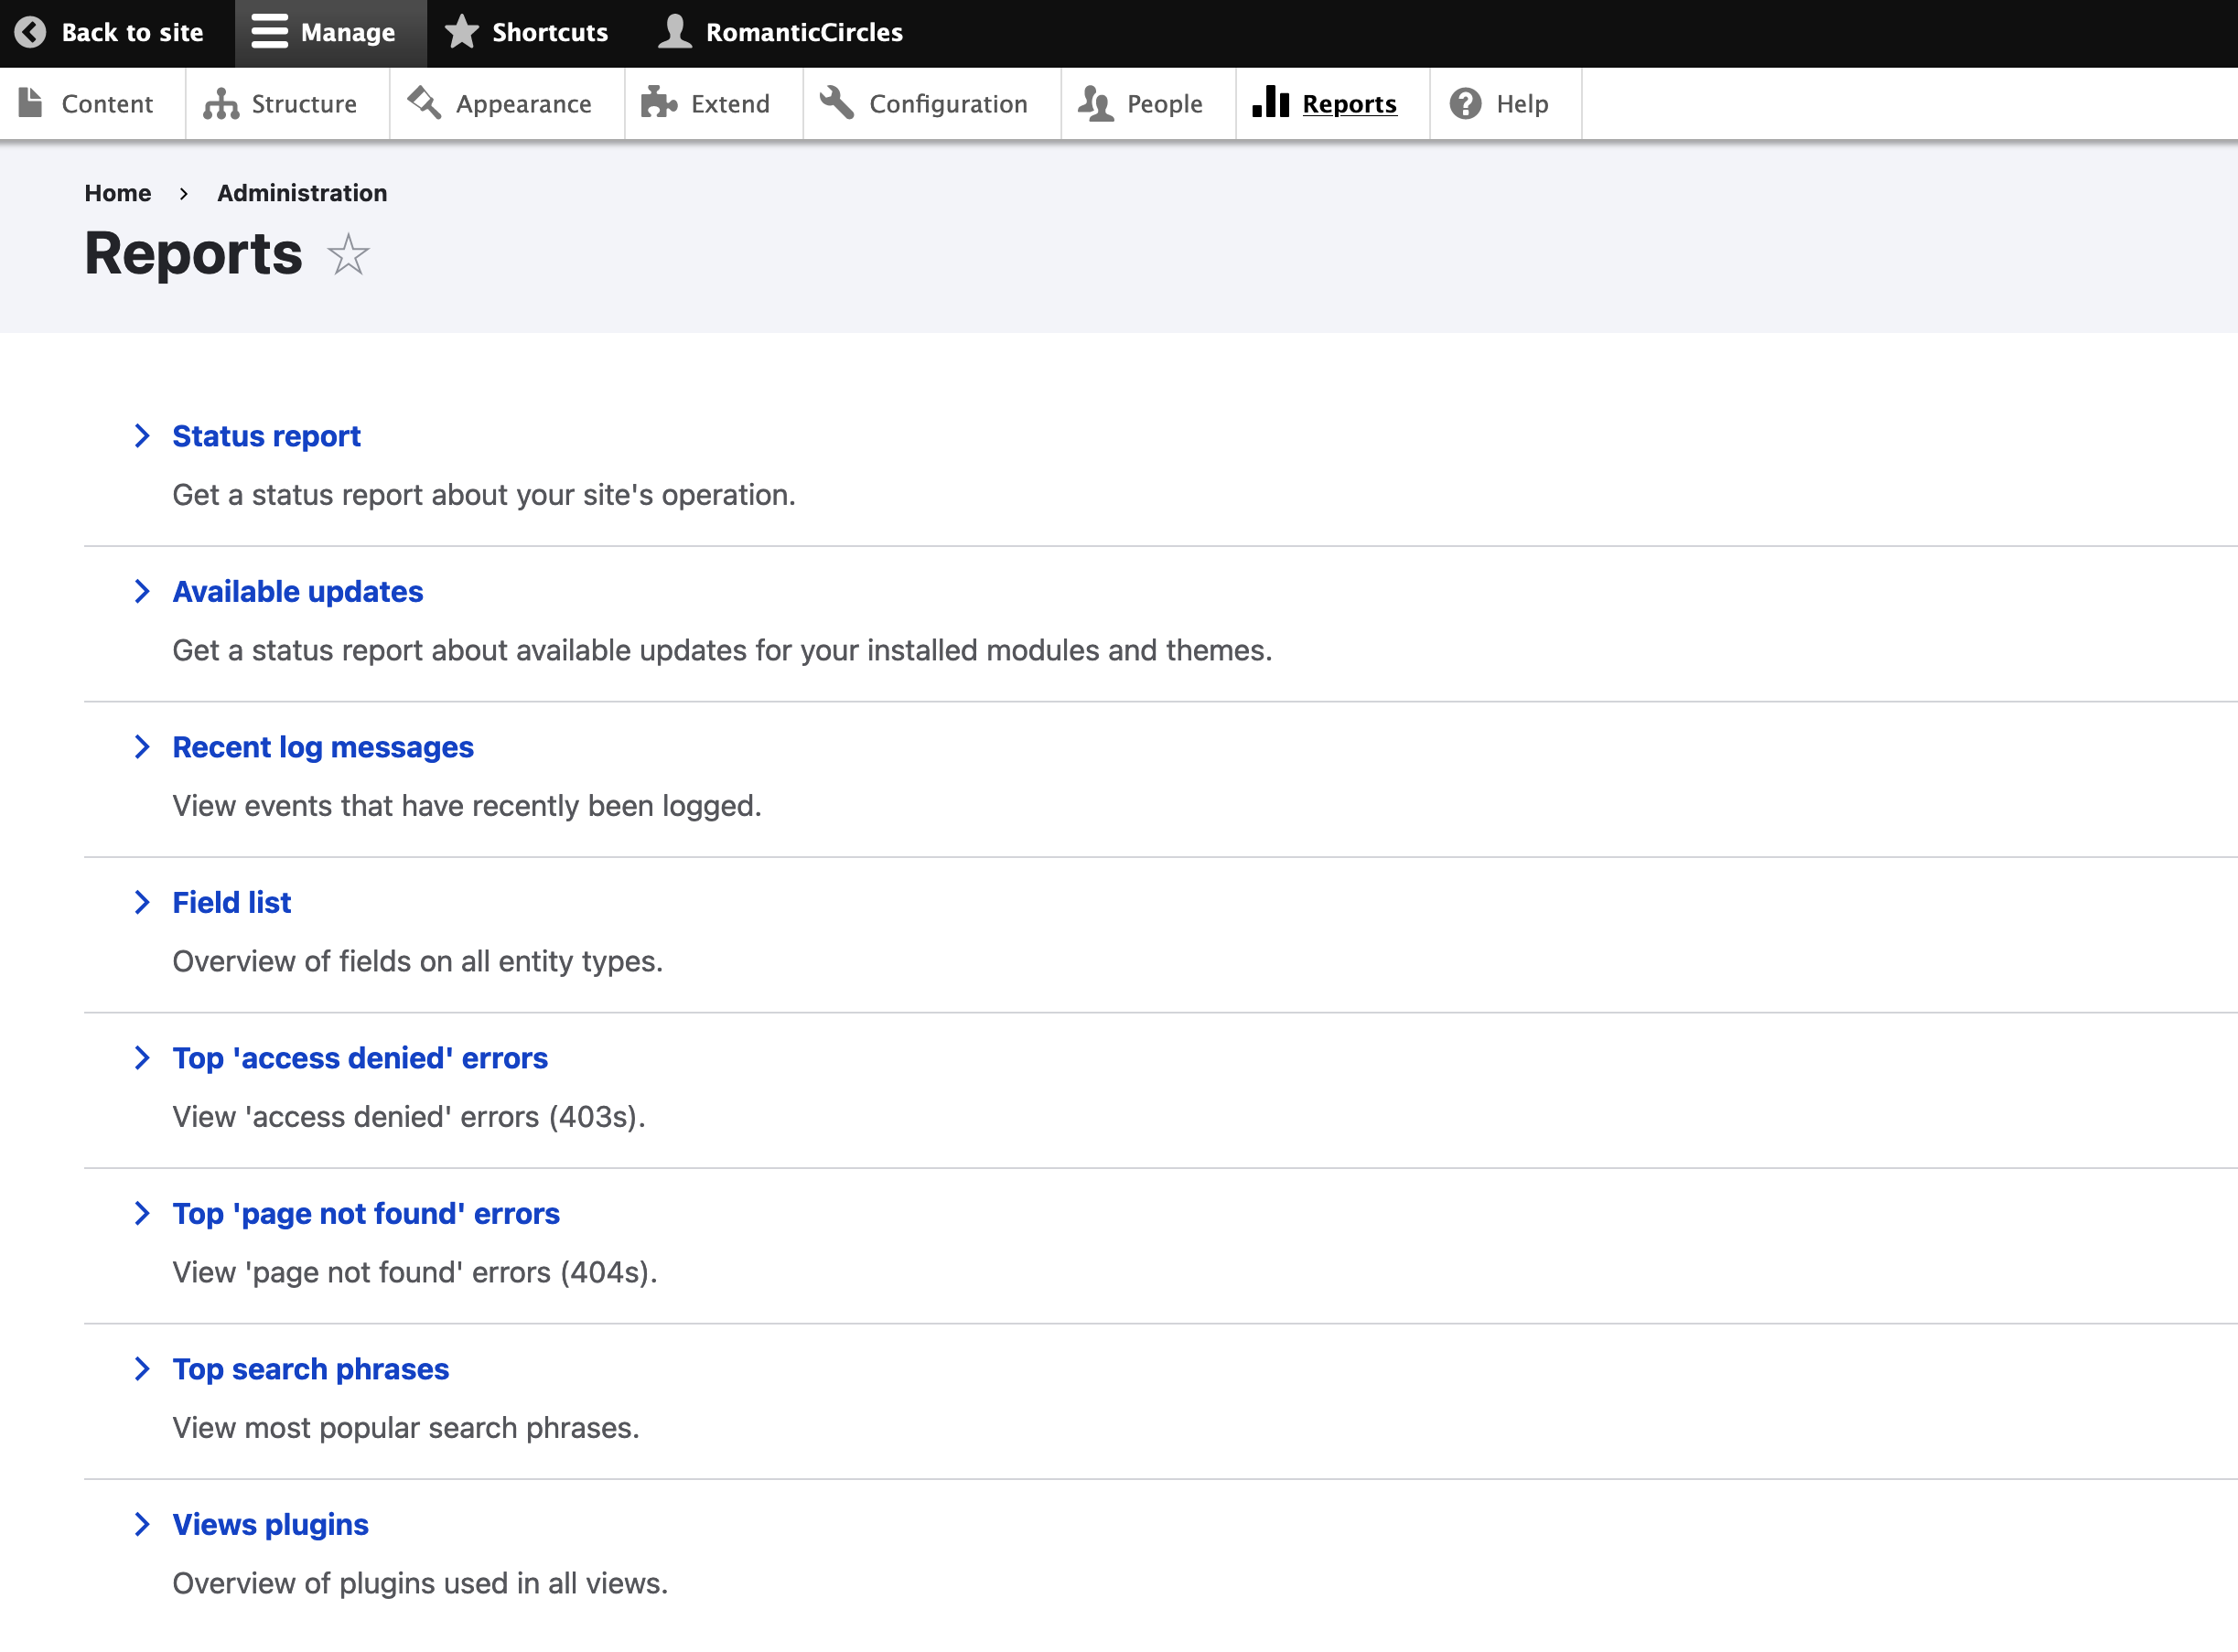
For now, though, the two pages you’ll use monthly are the site’s Status report and its Available updates. The former provides a useful site overview: the version of Drupal core the site is running, the PHP version (set by Acquia, per environment), the Database version (updated by settings.php), and any warnings related to the Drupal install (such as deprecations, available updates, and security risks). Available updates simply pings Drupal.org to see if any updates are available for Drupal core and all of your modules. Check for available updates at least once a month; once you’ve updated the site using Composer (using this guide), check the both pages to ensure your update has succeeded and that the correct version numbers are showing up in the Drupal UI.
Help
Well, as you might expect, this menu is not super helpful, but it does provide a list of all the modules the site is running with links to cursory (“readme”) documentation for each.
The database update UI: update.php
The last necessary element of Drupal’s admin UI isn’t linked anywhere on the site: a tool to update the site’s database. All Drupal documentation you’ll find will recommend that you perform this update any time you update Drupal core or any of its modules. Instructions on execcuting a database update with this tool are covered in the Drupal UI Maintenance documentation.